
Wrapping the front bulkhead in Sapelli was a delight. The different thicknesses and angles make for an visually interesting panel.
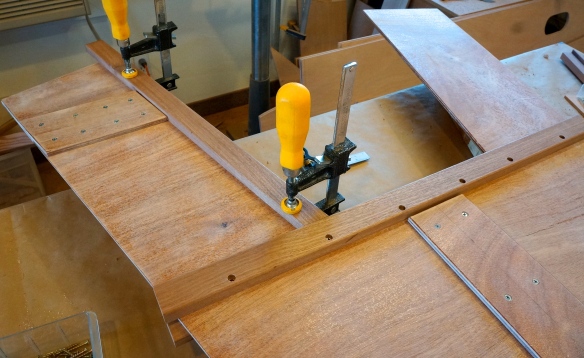
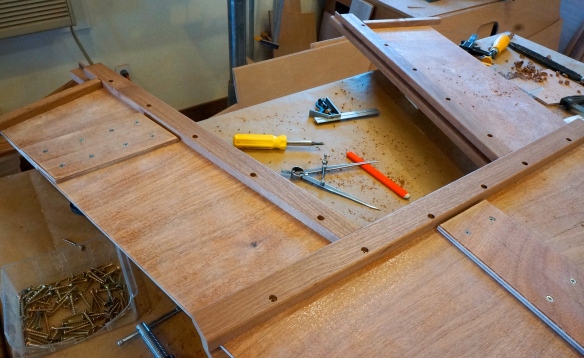
As I contemplated how to dry attach all the parts, I decided to screw through one piece, then through the plywood and finally, into the solid piece behind. This allowed me to secure both front & back pieces of solid wood with one screw. It worked very well, but I needed to carefully clamp and check all the parts before drilling.
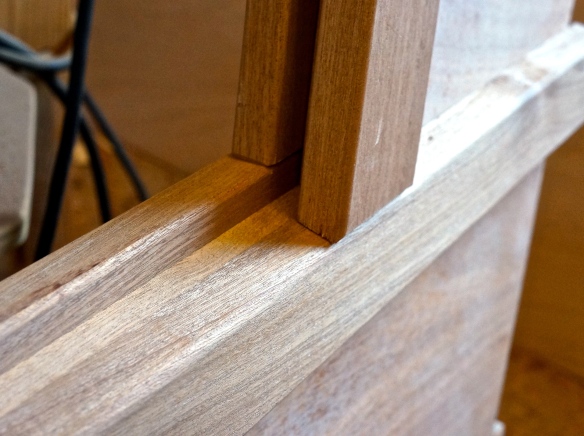
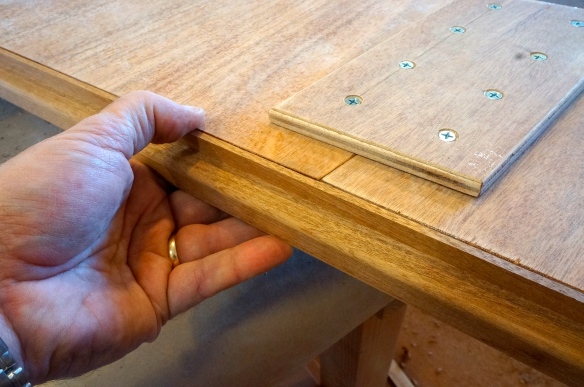 Checking to make sure the filler board isn’t proud of the plywood panel. This required a few passes with my hand plane to get just right.
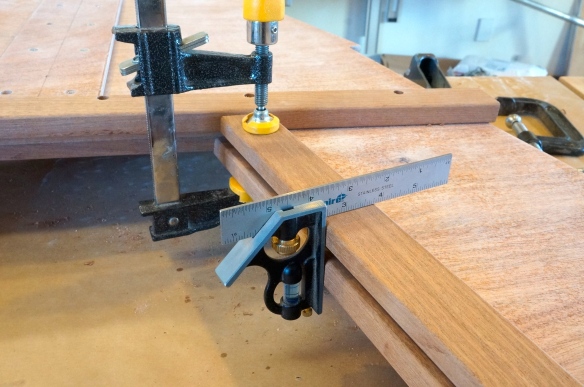 Taking my time to check both the offset and the alignment, I drilled holes using a countersink bit.
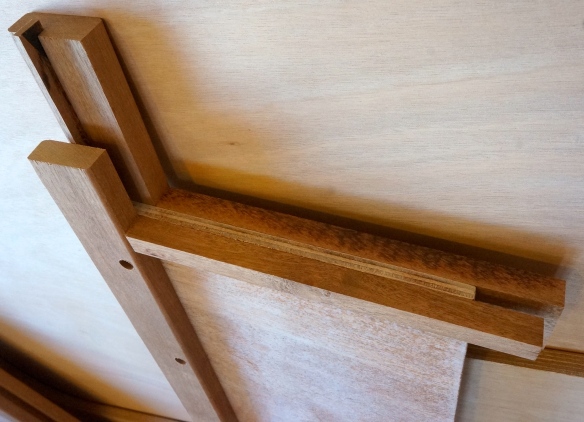
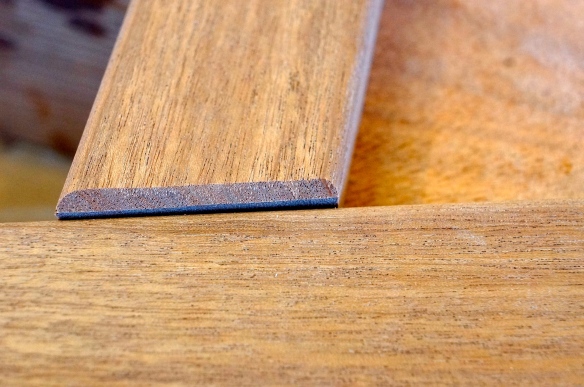 Where members of a different thickness come together, taper the edges down with a block plane for a clean look.
It’s really fun to see the bulkhead take shape. The Sapelli adds a warm look to the panel. Kilburn’s use of varying thicknesses of the solid pieces only adds to the visual appeal. It also makes good sense…finesse the design for lightweight rigidity.
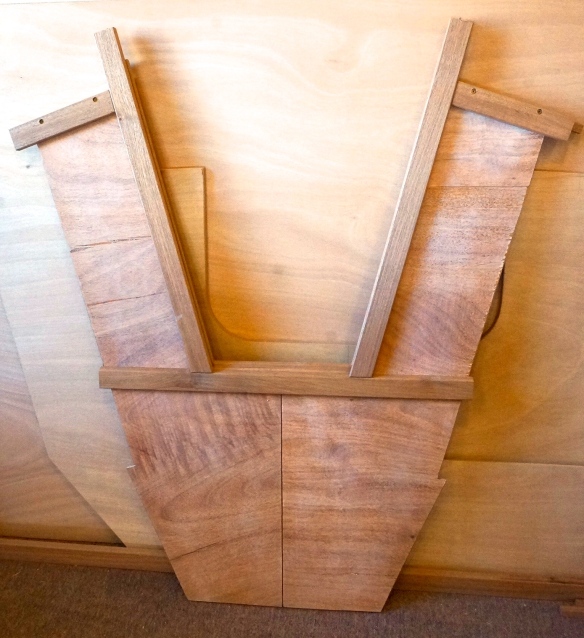
A top view of the front bulkhead. The tops will be cut off later to their appropriate length.
This is the lower portion of the front bulkhead, where you would step through into the bow. Though hard to see in the photo, the forward portion is sloped 15 degrees downward from the horizon to keep rain from entering the cabin. A small 3/8″ filler piece is also added to cover the end grain of the plywood panel…it too is sloped 15 degrees.
Summary:
This system of drilling through all three layers and securing with screws worked very well for me. It takes more time to setup but will save significant time and frustration when epoxy is applied. I’m just taking my time and having fun here. If I do a little each day, the boat will get built.
