
I’ve always said if anything can go wrong, it will go wrong with me. This has always been my life experience. Maybe you feel the same way, maybe everyone feels this way, but I have proof.
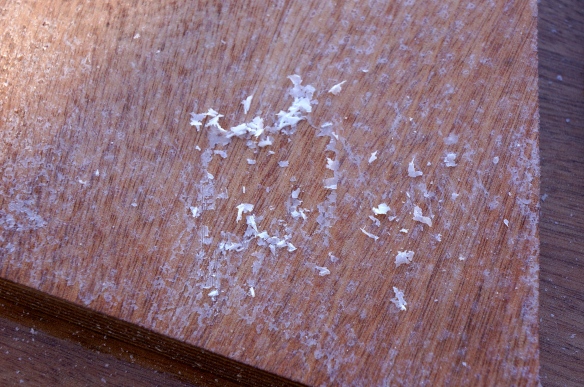
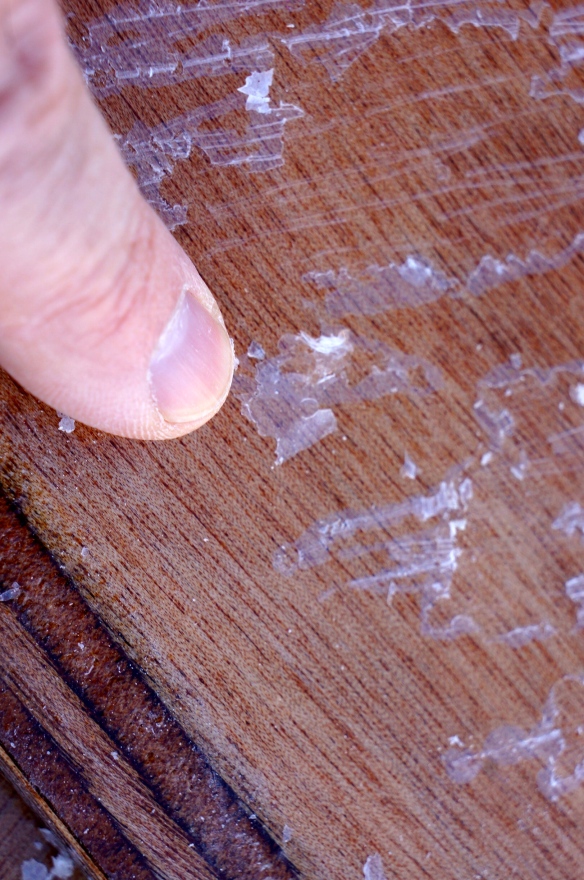
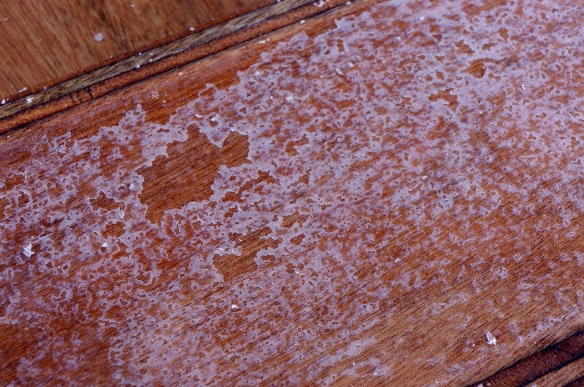
 When attempting to sand the hull panels, I noticed the second coat of epoxy lifting off the first coat. At first, I doubted what I saw…but the more I sanded, the more the truth revealed itself. I had an adhesion problem and it was real.
What steps did I take when applying the epoxy?
- I waited 24 hours after the first coat before applying the second coat. Please realize this is really slow stuff, so even after 24 hours, the first coat was tacky. I presumed I would be getting a very good chemical bond between the coats.
- I applied the second coat and then waited 48 hours before sanding.
- My shop was heated to 65 degrees.
- No other activity occurred inside my shop.
- My shop heater is a closed system natural gas shop heater with venting out the roof, hence I was not adding moisture to the air through the heating process.
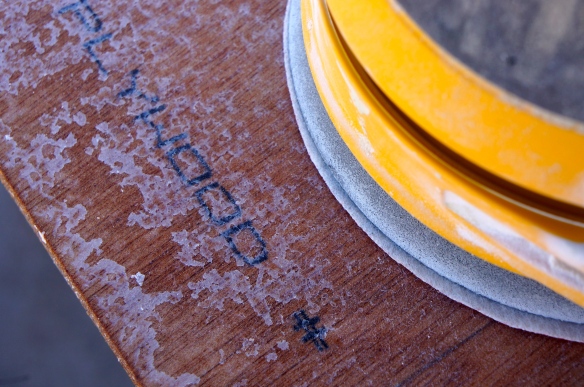
- When sanding, I detected some flaking. After more sanding the problem revealed itself as an adhesion problem. I included the photos above to help others see my results.
Summary:
After sending photos to Ductworks, I called Chuck to discuss the problem. He was very apologetic and immediately took care of the problem by sending me out new Marinepoxy. I appreciate Chuck’s willingness to make things right before I even had a chance to ask him. I don’t blame Ductworks at all for this issue. They will be communicating with their supplier to discuss the problem. Based upon this issue, I will be using regular Marinepoxy for my Skiff America. Though initially very discouraging, I am very fortunate I detected the problem at this early stage of my build. It would be heart breaking to getting deeper into things before realizing a problem. Life is all about problem solving…this is no different.
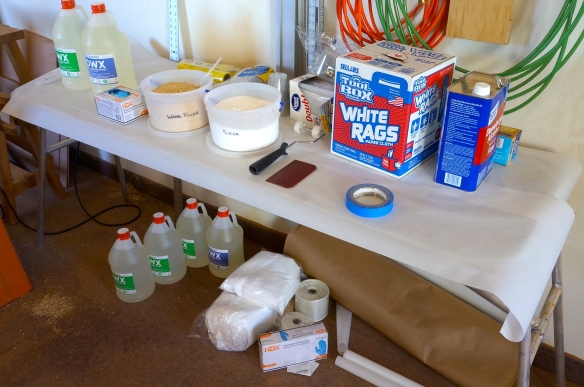 This is my setup.
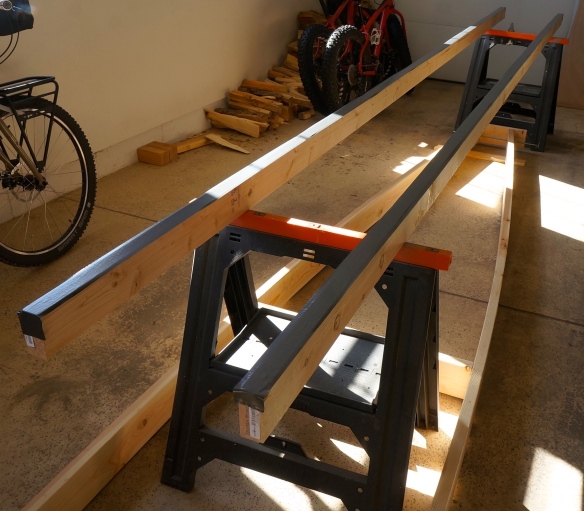
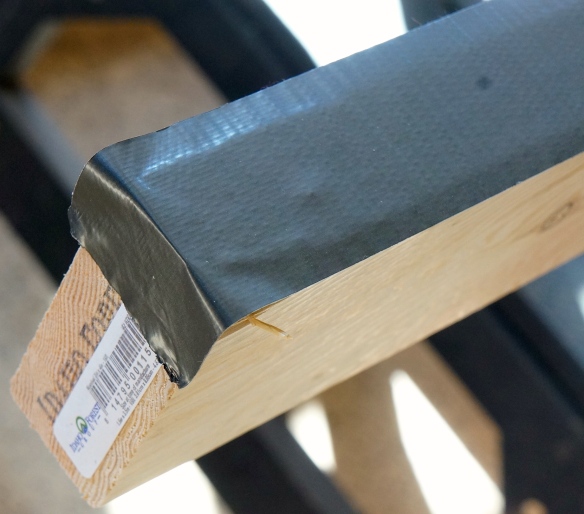 I also cover (2) 2 x 4 x 16′ boards with duck tape to use as an epoxy bench.


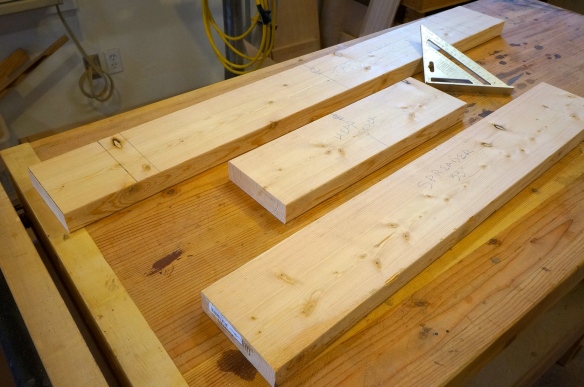 I laid out the 2 x 6 and marked where I wanted to cut the dados for the aft cross member.
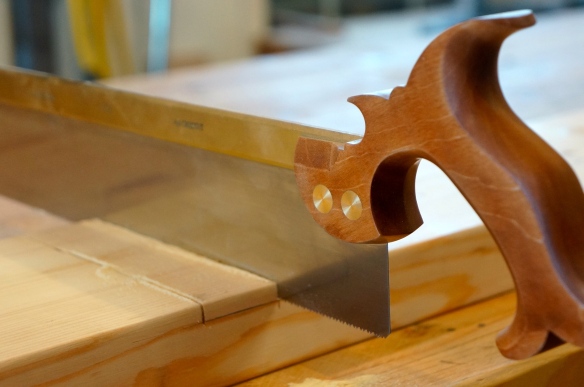
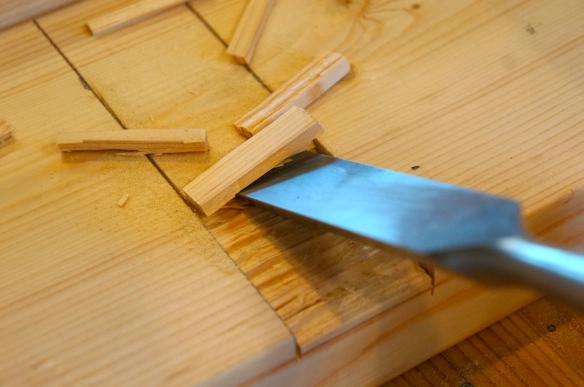
 There are certainly many other ways you could accomplish this joint. You could also simply buy the metal brackets specified in the plans. I decided to cut them with hand tools because I was too lazy to install dado blades into my table saw.
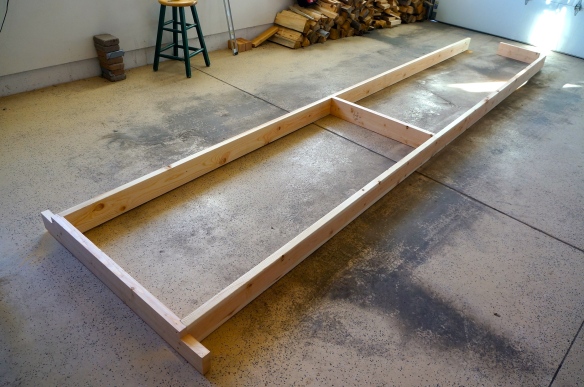 I first screwed the 33″ cross member to the 16′ 2 x 6 and then added the aft cross member.
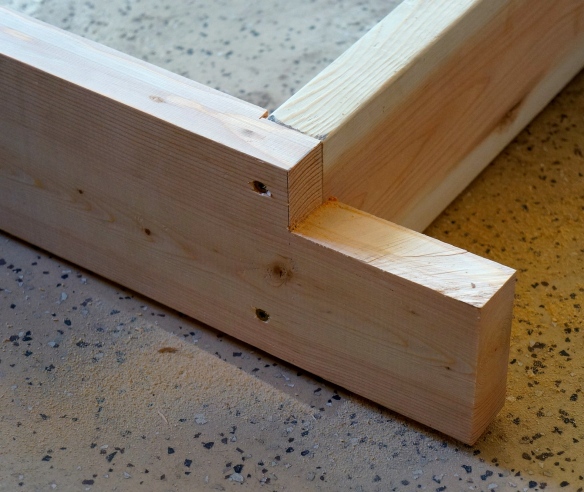 Don’t forget to cut out the corners of the aft cross member to allow clearance for the chine panels.
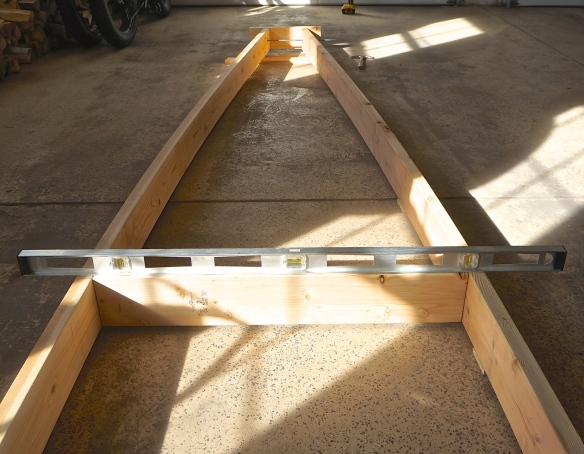
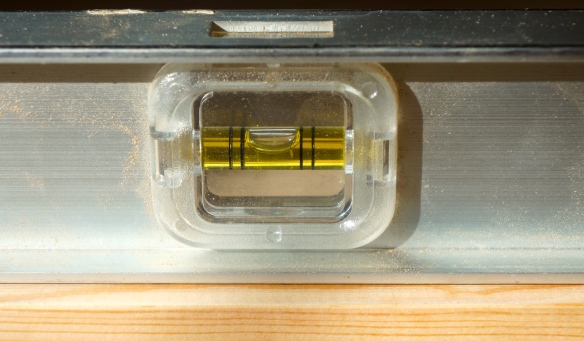 Now shim and confirm 3 times that all cross members are level.
 I used several pieces to properly support and level the frame. Once all cross members were level, I marked all shim locations incase I accidentally kick one out of position.
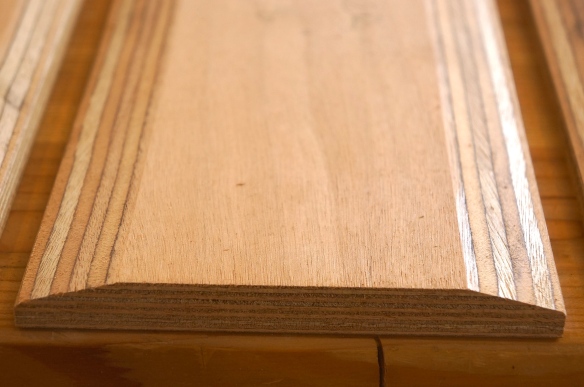
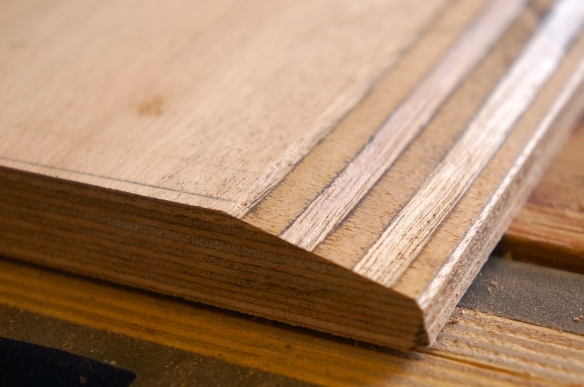
 The plans call for doublers when joining two panels. This approach is simple, effective and attractive. Kilburn asks the builder to cut a 15 degree angle on the long edges. This gives the doubler a very attractive, eye catching appearance.
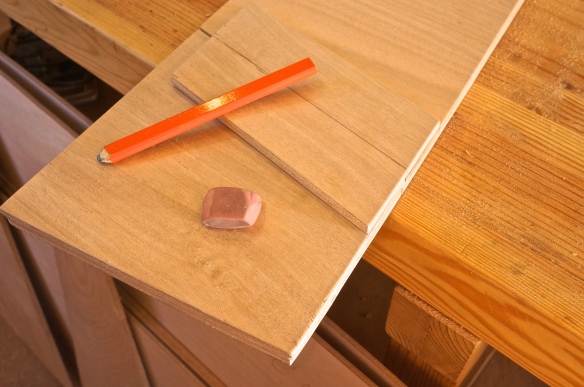
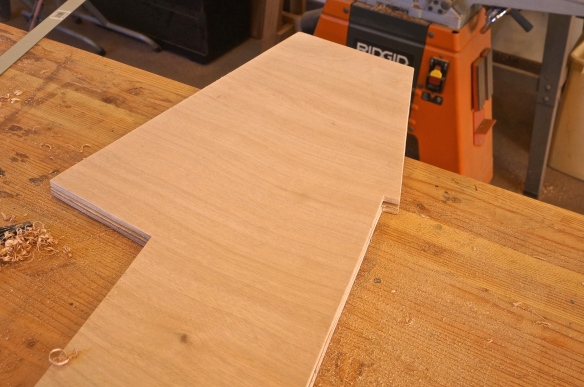 I used one half of the front bulkhead to trace and create the second half. These two pieces will be joined with a doubler. Kilburn has utilized nearly every square inch of a 4 x 8 to create both front and rear bulkheads, a doubler, two cabinet bottom corners and the front filler board all out of a single sheet. Very clever!
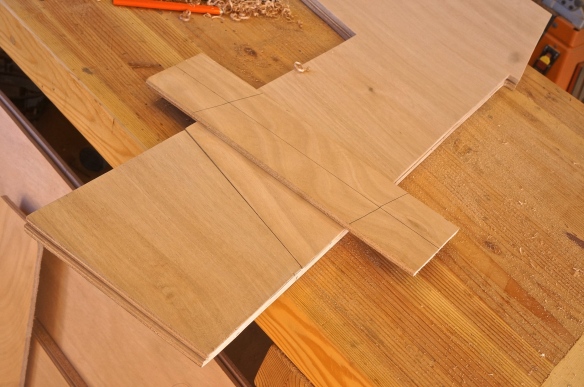
 This is the doubler to join the upper end of one side of the front bulkhead. You leave it 3/4″ shy off the inboard edge to allow for solid wood edging.
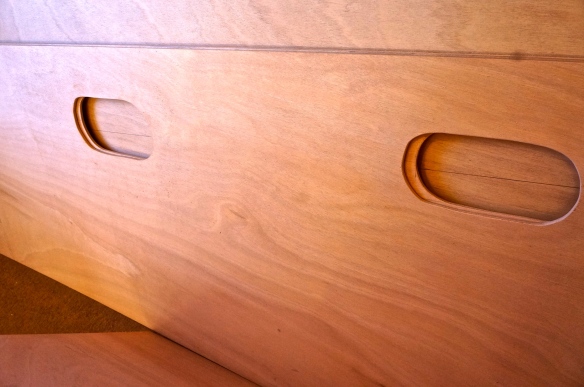 I designed and cut the windows at this stage while I had the panels lying flat. The front window is sized in accordance to plans but the rear window was dimension up a bit. It is 1″ taller and 2″ longer than the standard window. I felt this made for a more balanced looking cabin.
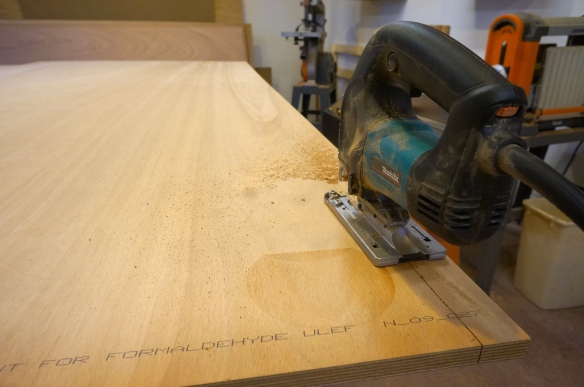 It took a little courage to begin making this cut. I felt good about the lines…it’s just getting started and knowing the consequences of miss cutting that makes one nervous.
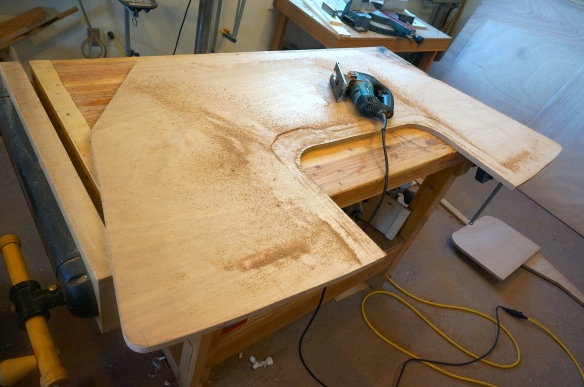 After a while, I was cutting away like I meant it.
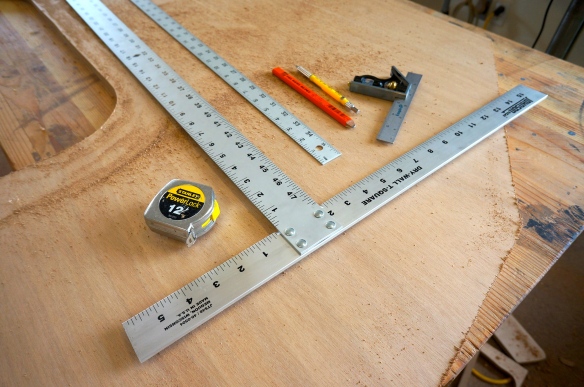 These tools have proved very helpful:
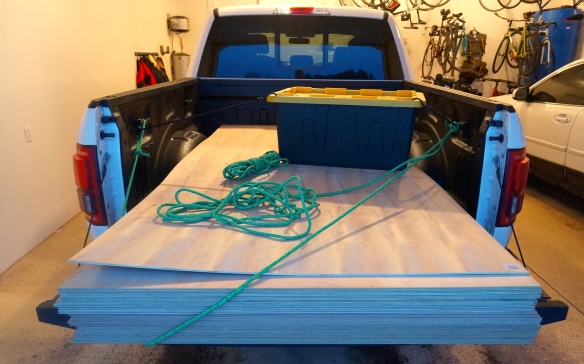 Well, I guess I’m sort of committed now.
 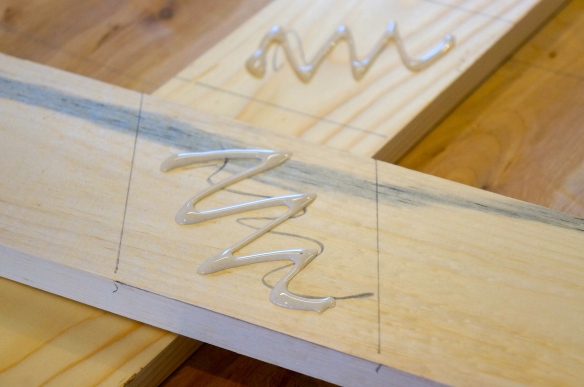 Now don’t think I didn’t spread this glue out with my finger. That would not pass the ‘ham n egger’ standard. No, my dad would be very disappointed in me if I didn’t spread this out smooth, right up to the edges.
 This frame goes up near the front of the boat and hence is much taller and narrower than frame #2.
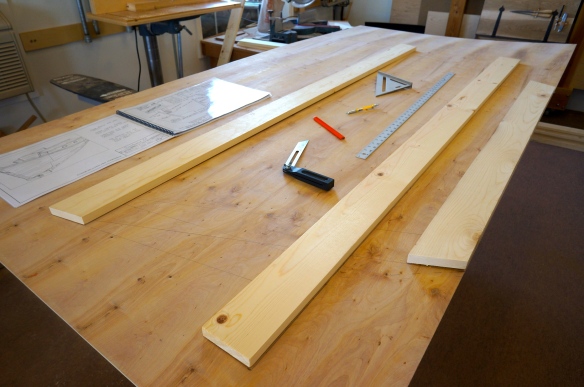 I traced out the position of all the frame members onto a 1/4″ sheet of plywood. After carefully checking all the measurements and noting the 1/4″ drop of the lower cross member, I began cutting the frame pieces.
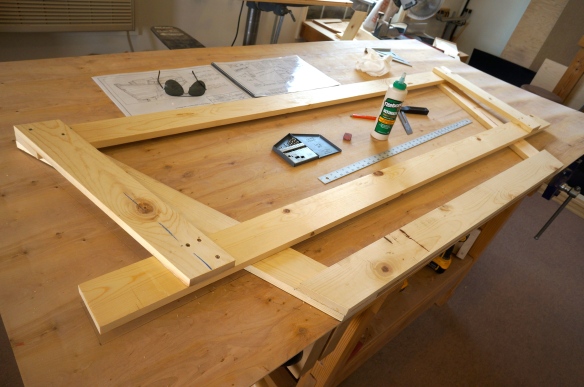 Short pieces attach to one side of the frame, with longer pieces attaching to the opposite side of the frame. Don’t forget the glue, you don’t want these pieces to move on you.
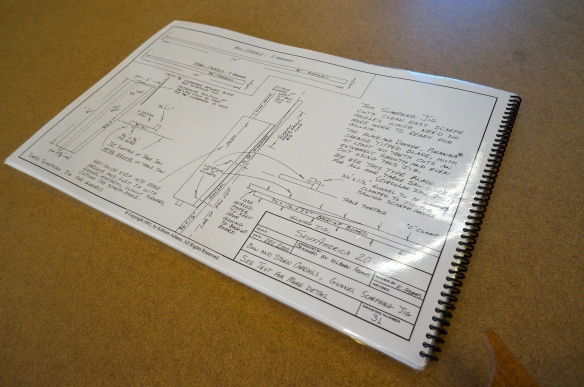 I must say the plans produced by Kilburn are very impressive. The level of detail and attention paid by Kilburn is unlike anything I’ve ever seen. In fact, these plans are so good you should buy them just in case you ever decide in the future you want to build this boat. This level of intelligent design is rare in our modern throw-away society.
 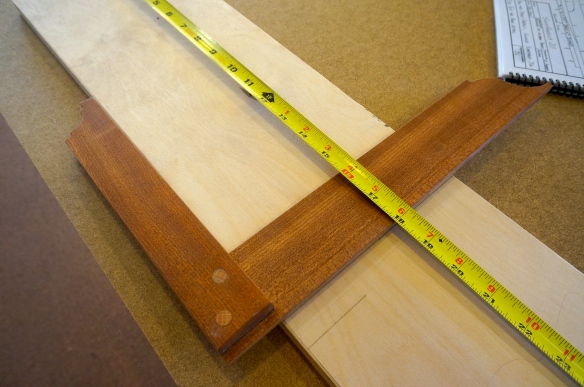 I started by lopping off an 18″ section of 3/4″ baltic birch. You gotta love my home made trisquare…much warmer to touch and lighter to handle than cold aluminum. And yes, It’s square.
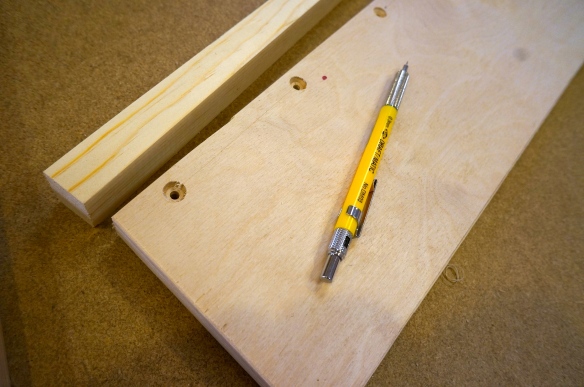 A 3/4″ x 1″ fence is added to the cutting end of the jig. I counter sunk the screws to keep the bottom of the jig flat.
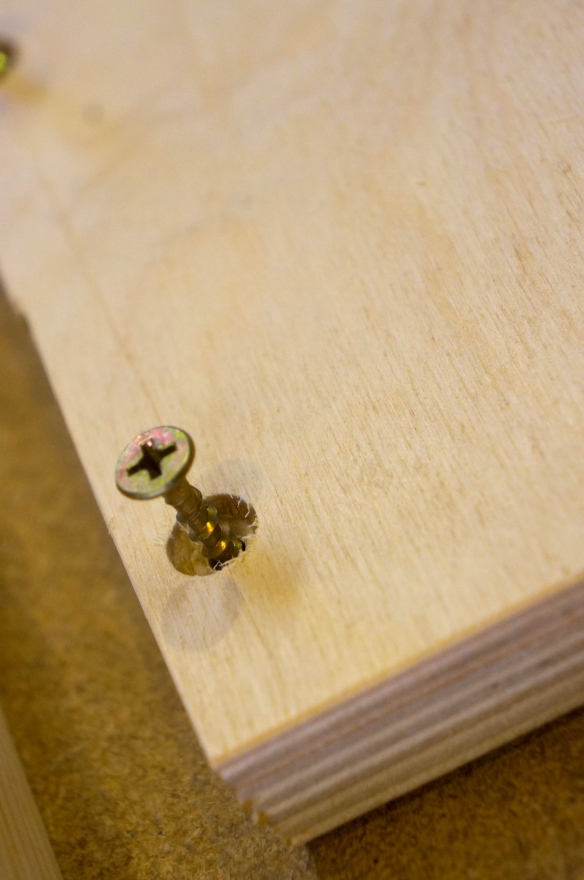
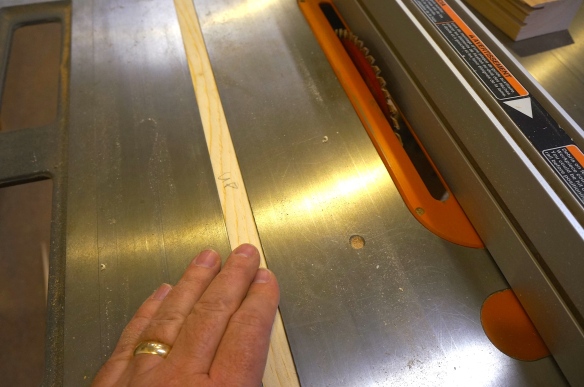 Then I built the 3/4″ x 3/8″ strip to key the jig to the table saw slot. Here I’m checking the fit.
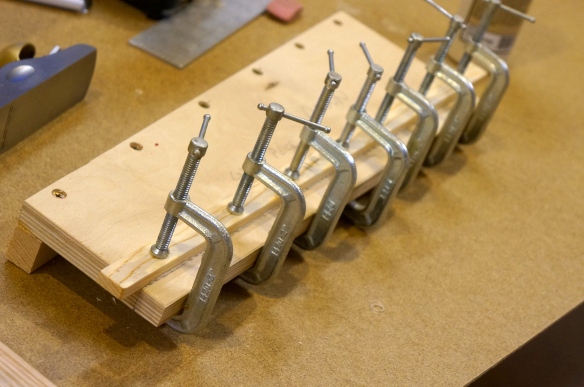 I then glued the strip to the bottom of the angled jig. After this dried, I cleaned up the squeeze out with my shoulder plane. A shoulder plane can work miracles when you have a need to remove material from an inside corner. After a few passed, the jig once again moved freely through the table saw slot.
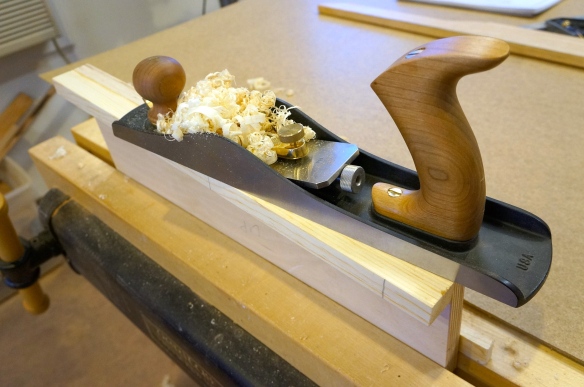 I used a jack plane to flush up the clamping side of the jig. This creates a flat clamping surface for holding the stock lumber to be scarfed.
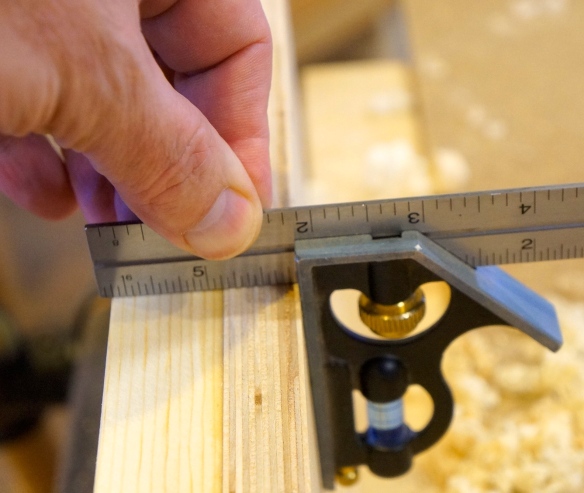 I checked the angles with my pocket square for accuracy. All looks good.